Did you know that tattoo-transfer paper dates back to the 19th century, where tattooists used hectograph ink and pencils on rice paper? Later, light canvas and heavier paper replaced rice paper, as these could be re-inked, unlike rice papers, which were a one-time use.
Contents
Need for Transfer Papers
Have you ever pasted that readymade, temporary, picture tattoos as a child? Using a transfer paper gives the same effect as that of a “fake” tattoo. It acts as a carbon-copy paper with which you can trace tattoo designs on your skin with ease.

Transfer papers are what tattooists use these days to convert your pencil design into an actual tattoo. If you ever have a particular tattoo image in your mind but are wondering if your tattooist could do an excellent job in reproducing the same design, then think no more! Tattoo transfer papers act as a guide in recreating the exact artwork. Hence, the hardest part of explaining the design to your artist and getting it made is solved with the use of a transfer paper.
Find out other good reads at https://tattooli.com/useful/
Types of Transfer Papers: Hectograph vs. Thermograph
There are two types of transfer papers – the hectograph and thermograph papers. Hectographs, also called manual transfer papers or free-hand transfer papers, are similar to that of a carbon-copy sheet. It has three components, unlike the thermograph paper, which has four components.
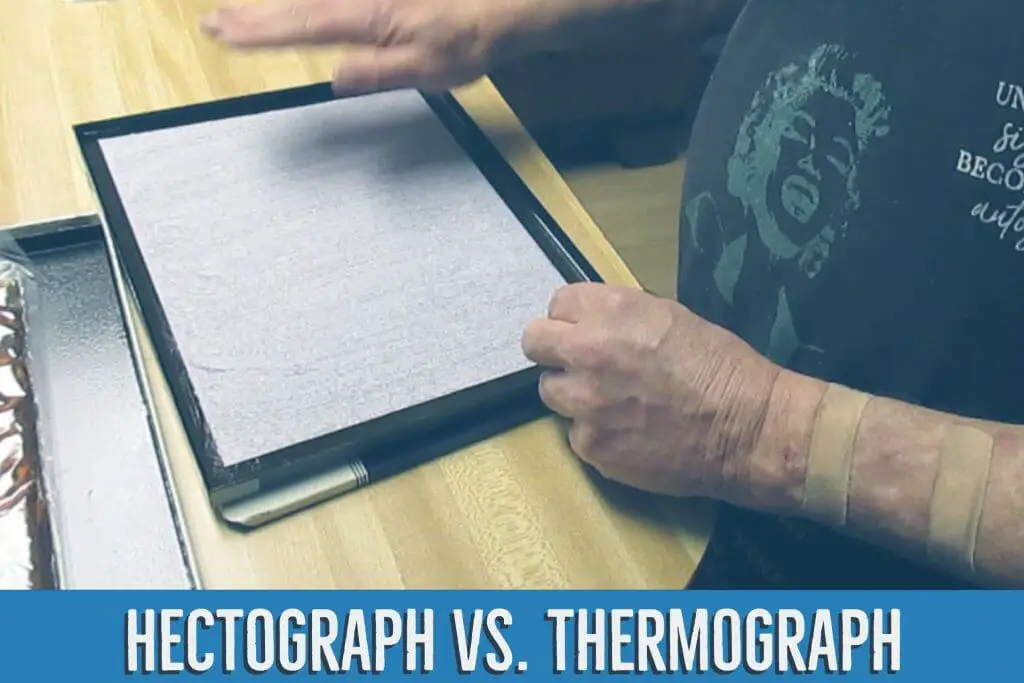
Although a hectograph transfer paper is cost-effective and easier to re-do if a mistake occurs, the ability of thermal transfer papers to create clearer images makes the latter more popular nowadays.
Components of a Thermographic Transfer Paper
Before discussing how a transfer paper works, you must know what a thermal transfer paper consists of to have a better understanding of each step.
- Top Layer: It is white and is the sheet on which the artist will transfer the design.
- Second Layer: It is milky-white and is thrown away after use, as it is not attached to the rest of the sheet.
- Third Layer: It appears in a shade of bluish-purple and resembles a carbon paper. You can transfer the artwork to the top layer by gently applying pressure on this layer.
- Bottom Layer: It appears yellowish and captures the intended design in place, as the tattooist gets to work.
Step-wise Method to Use a Thermographic Transfer Paper
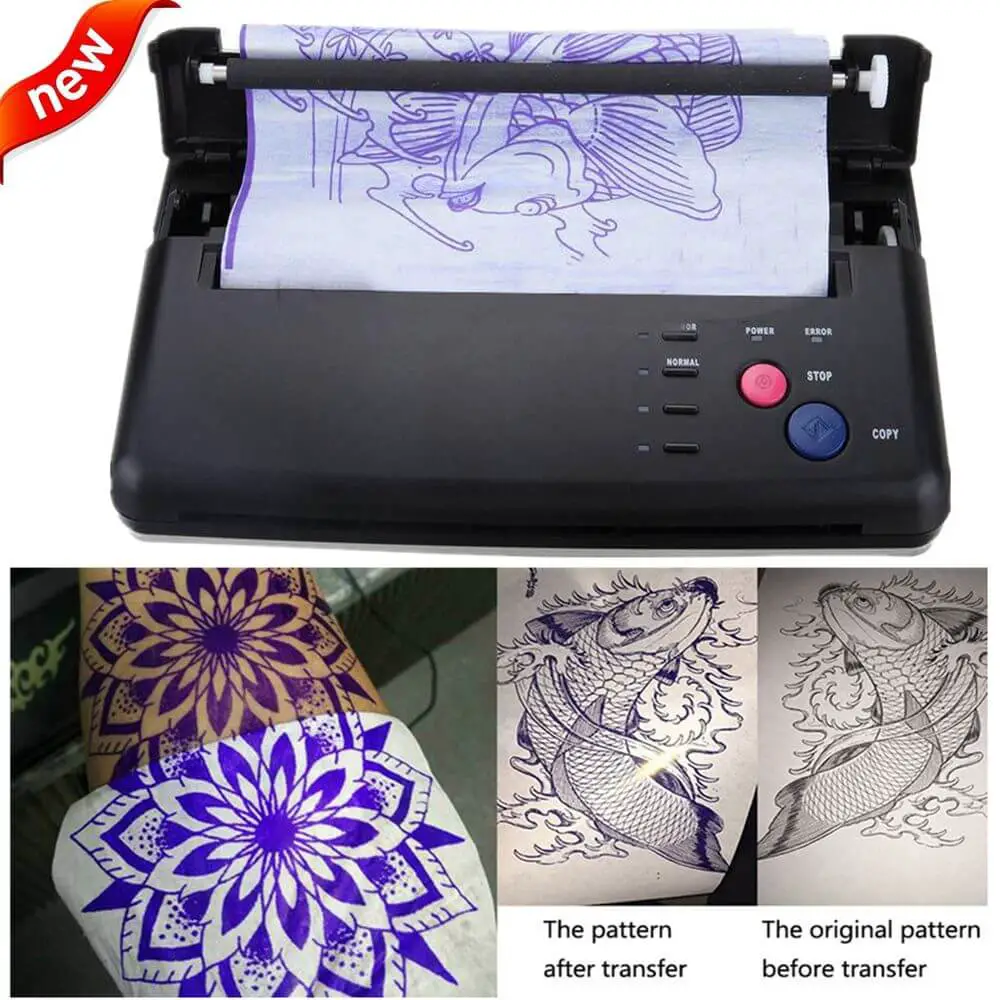
- First, recreate the tattoo design on a regular printer paper using a pencil.
- Slide this sheet under the carbon layer and pass the set of papers through a thermographic transfer maker with the design facing down.
- You will now have an exact copy of your original design on the top layer. You can then remove the carbon sheet from the rest of the thermal transfer paper and discard it.
- Finalize where the tattoo needs to be made and apply a thin layer of soapy solution on this area using a damp cloth. This step will hold the transfer paper in place.
- Place the carbon copy firmly on the skin and smoothen it out by pressing it hard downwards but without shifting it.
- Peel off the carbon layer slowly, and you will notice that the design has been transferred on the skin.
- If you have placed the paper correctly at the first go, then you will notice the drawing once you peel away the transfer paper.
- The image will appear in bluish-purple, which will wash off gradually.
- Once the position and lining of the design have been fixed, you can start the ink work.
Rest assured, you can be sure of what your tattoo will look like once the job is over and let tattoo regrets at bay. Moreover, the method is safe to use and produces excellent results.
References
Images via Adobe Spark
Inspired by the book: Kiplinger’s Personal Finance